Wednesday, October 15, 2014

Part 3 - Spidersand~ Spidersand~


Part 3 - Spidersand~ Spidersand~

Ey I'm back~! Work's been long and hard and replaying the whole game is a chore. But I'm here for the next part so let's get started!


Head back to this cave area, and you'll see a cut scene of you dragonfly lighting up the candles. Now with the lighted candles you're able to go further into the cave. 


So pick up a candle


   and head right.


The next part is a bit tricky. Now with the candle you're able to traverse the dark cave. In the darkness you'll see 2 paths, one with an arrow and one without an arrow. To get to the end of the cave, you must follow the path WITHOUT THE ARROW


Now if you get lost in the cave or accidentally click the wrong path then well... good luck to you. This puzzle was so easy I forgot to see what happens if you take the wrong route, though i'm pretty sure you'll start in the beginning again though.

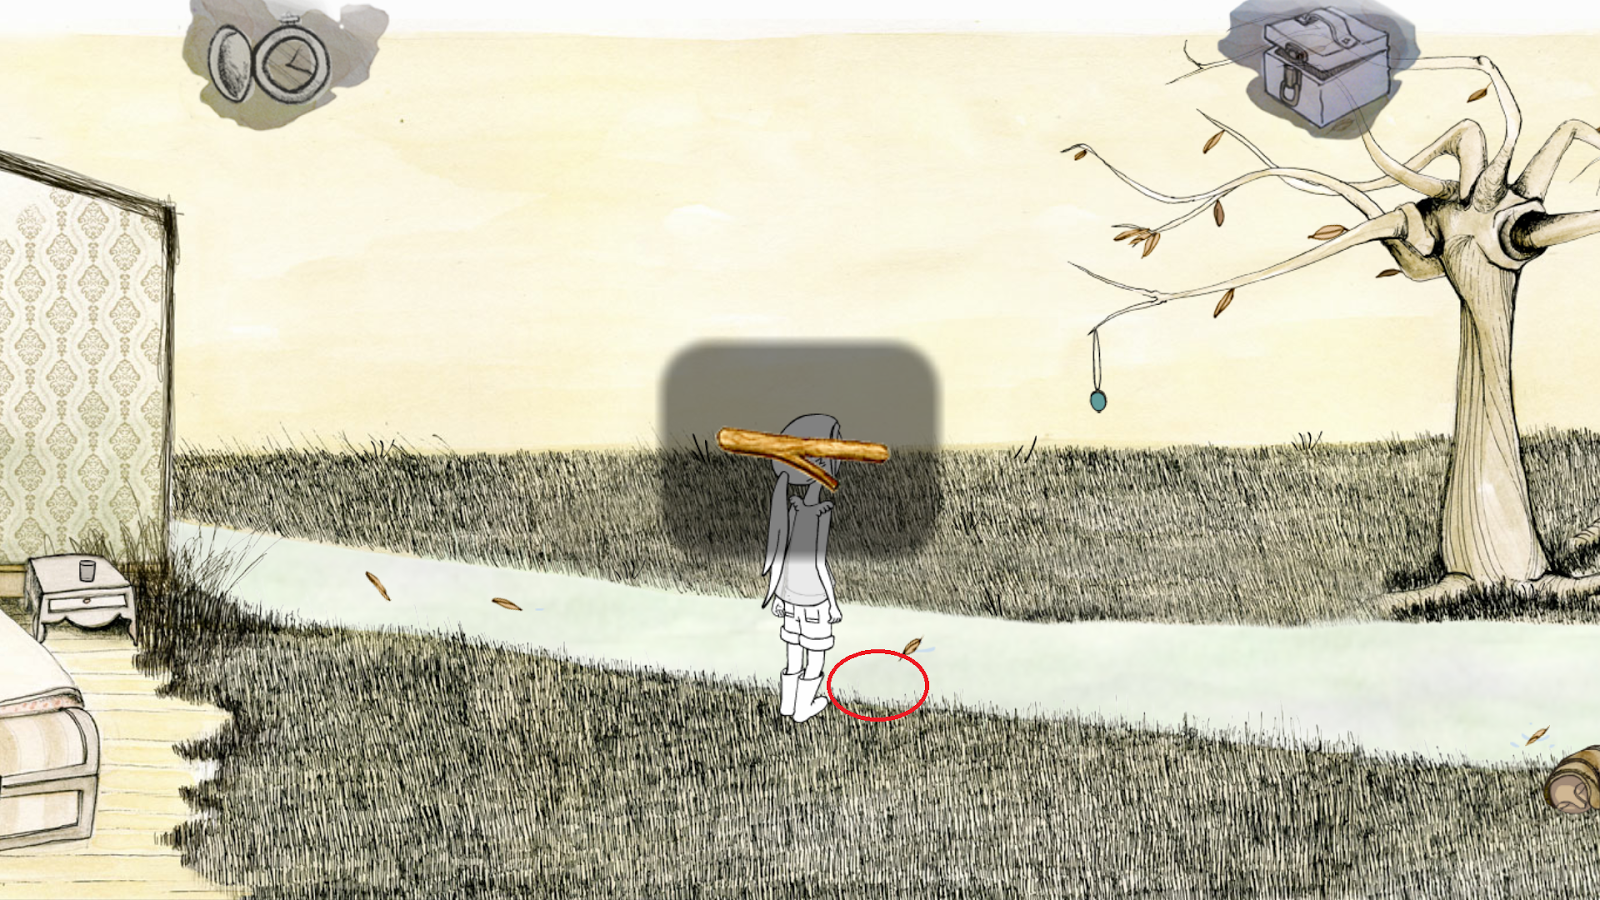
When you reach the end of the correct path you'll see the exit of the cave. But before you leave to the next map, make sure you pick up the tiny object on the floor. It's a pair of spectacles. You'll need them for later.

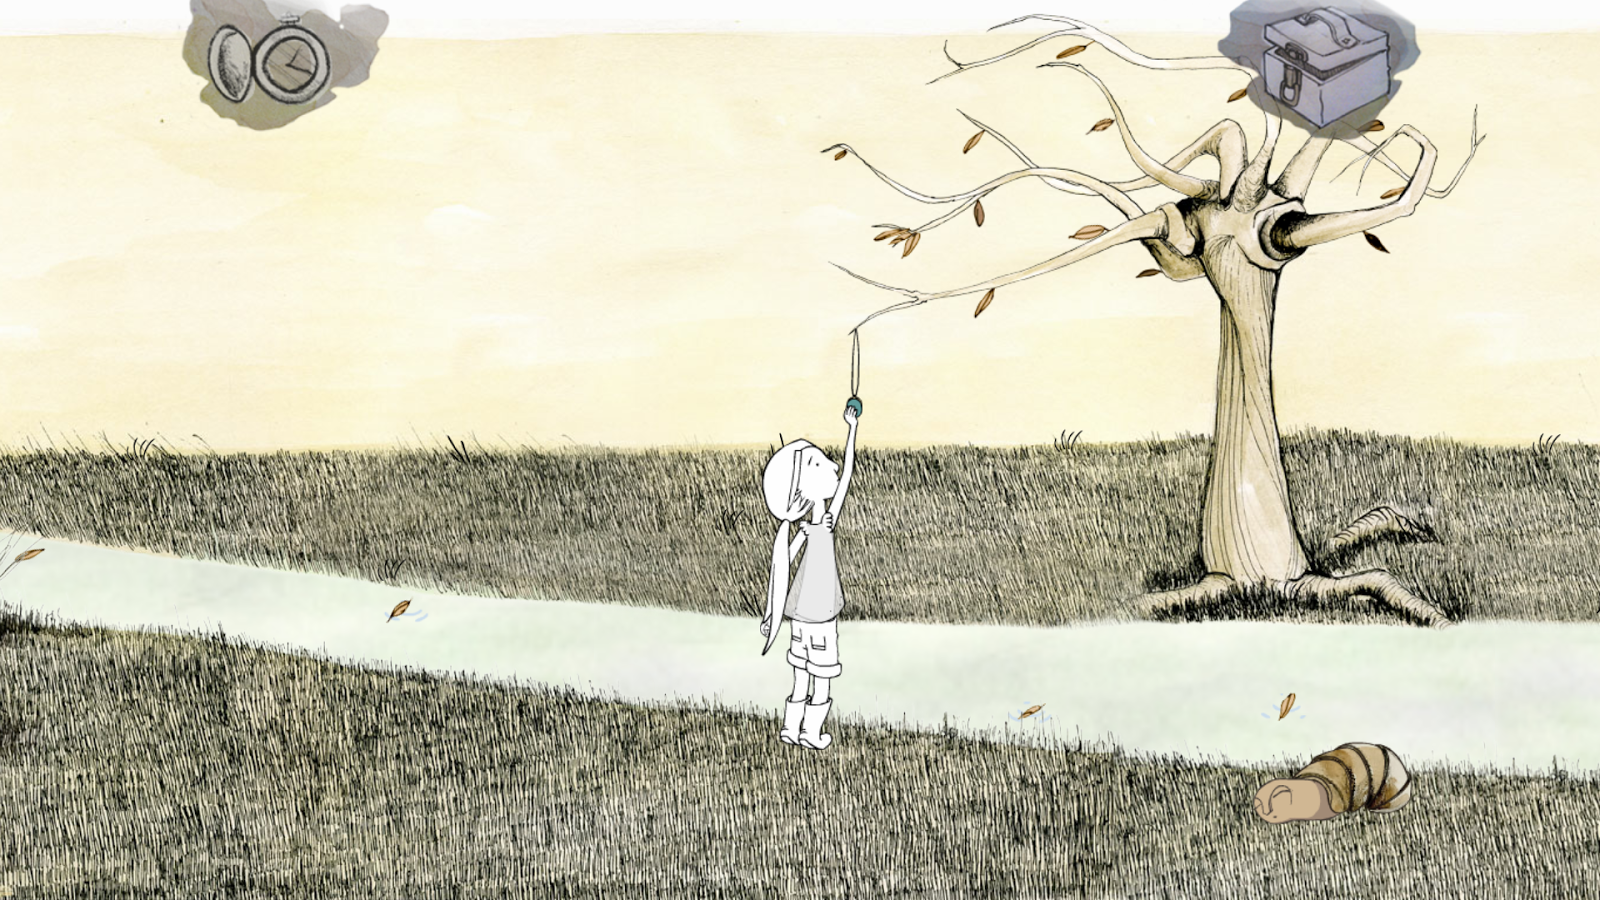
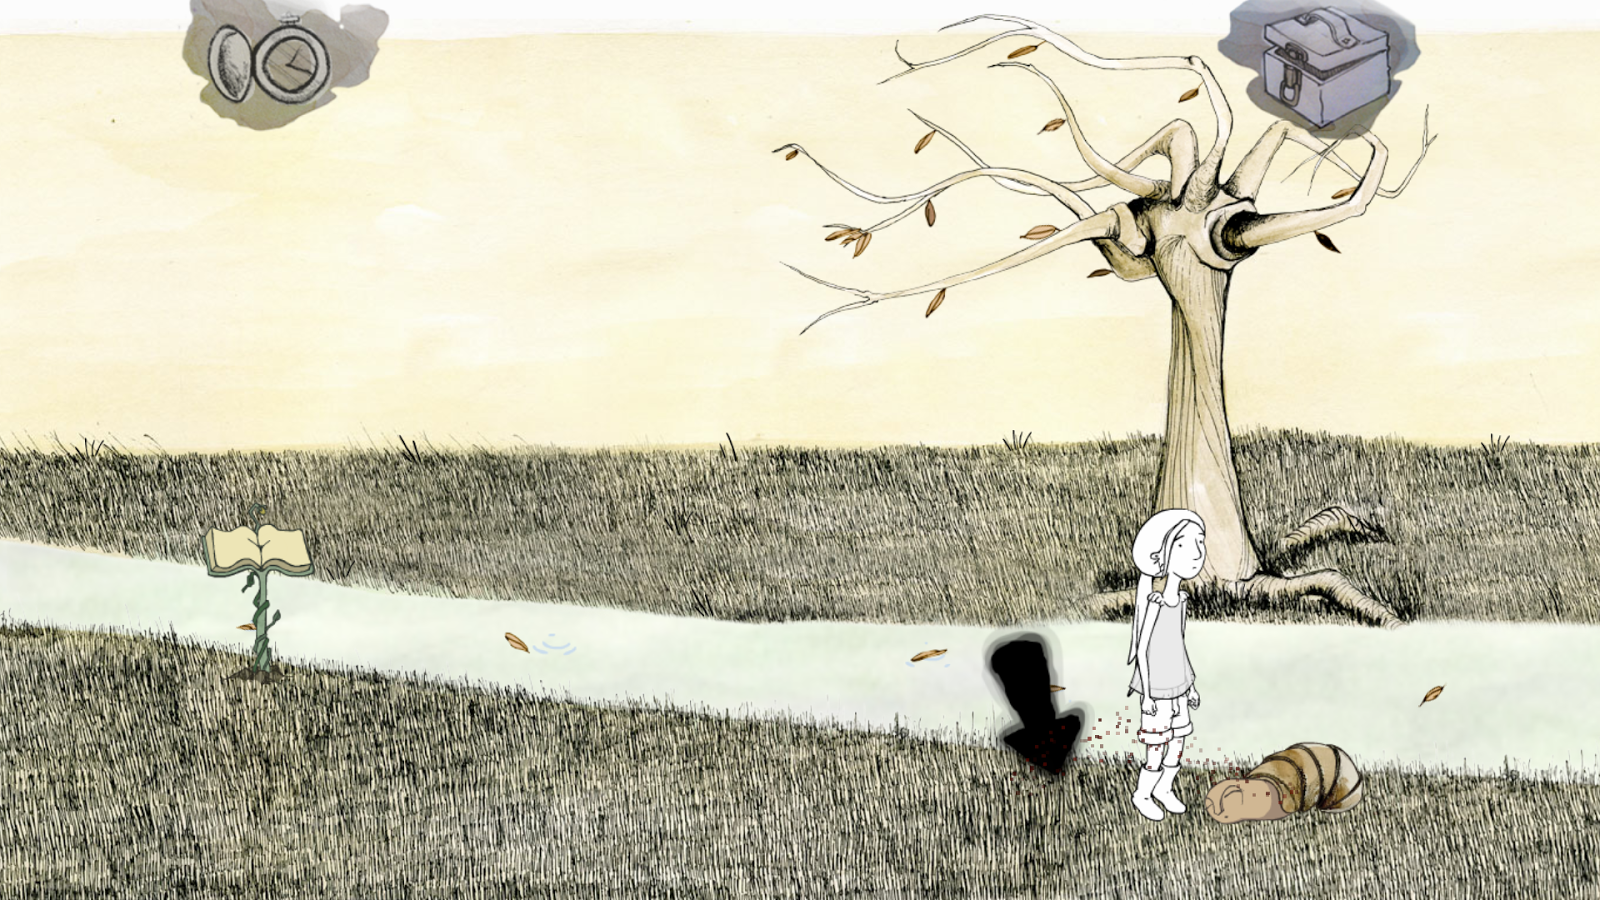
A loading screen later and you'll end up at a pretty little beach, not before watching another short cut scene of the whereabouts f another blasted dragonfly, which flew off towards the tower in the distance.

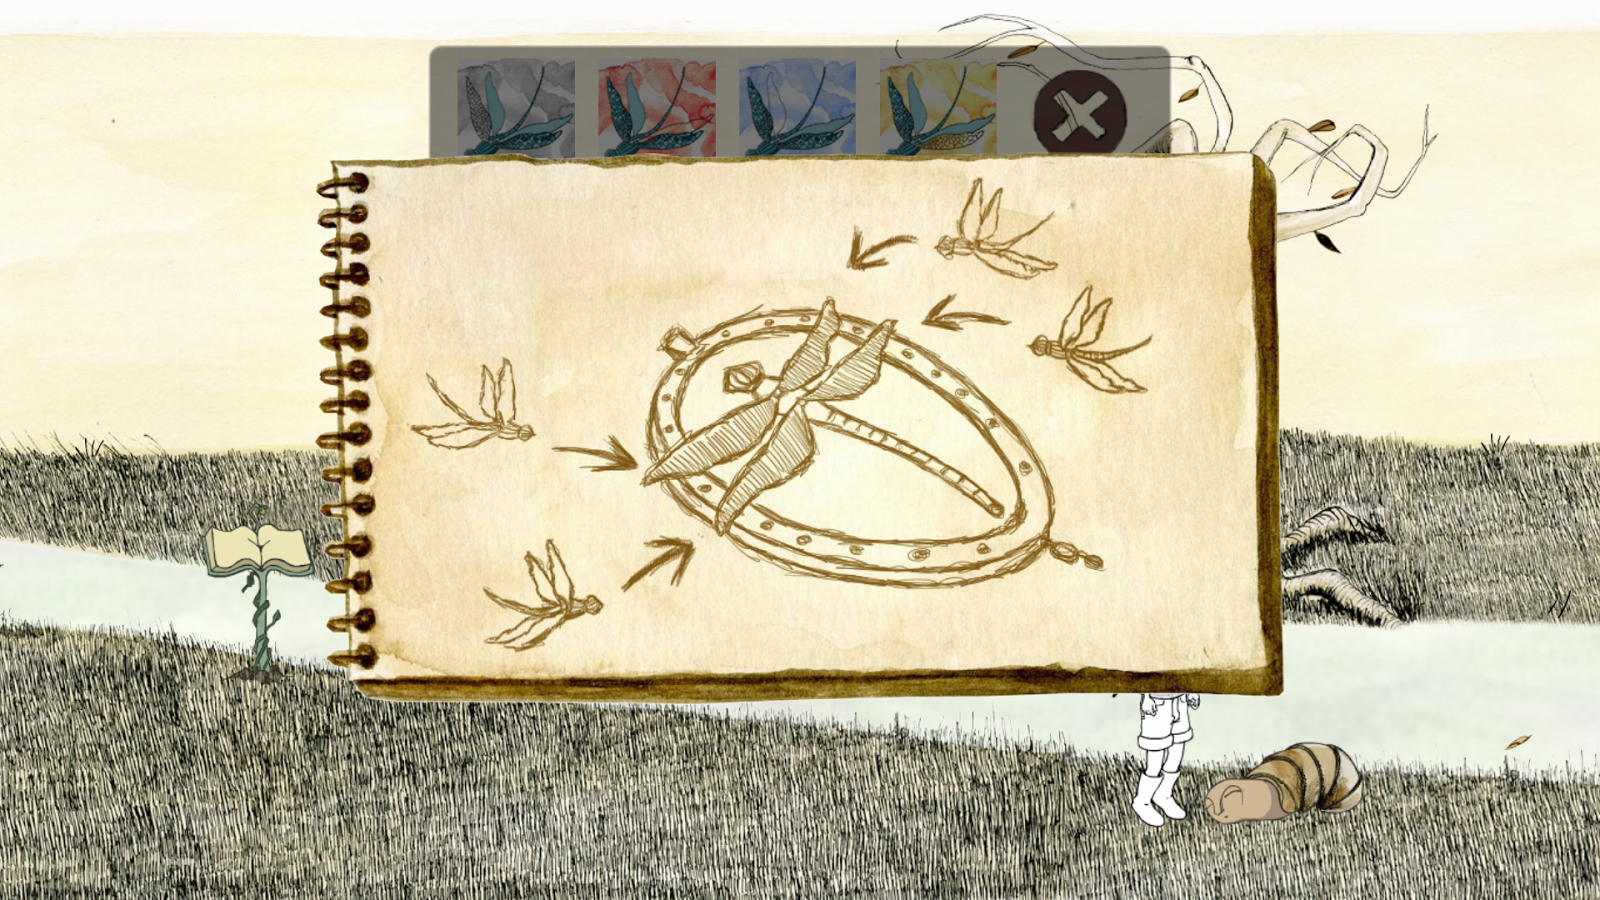
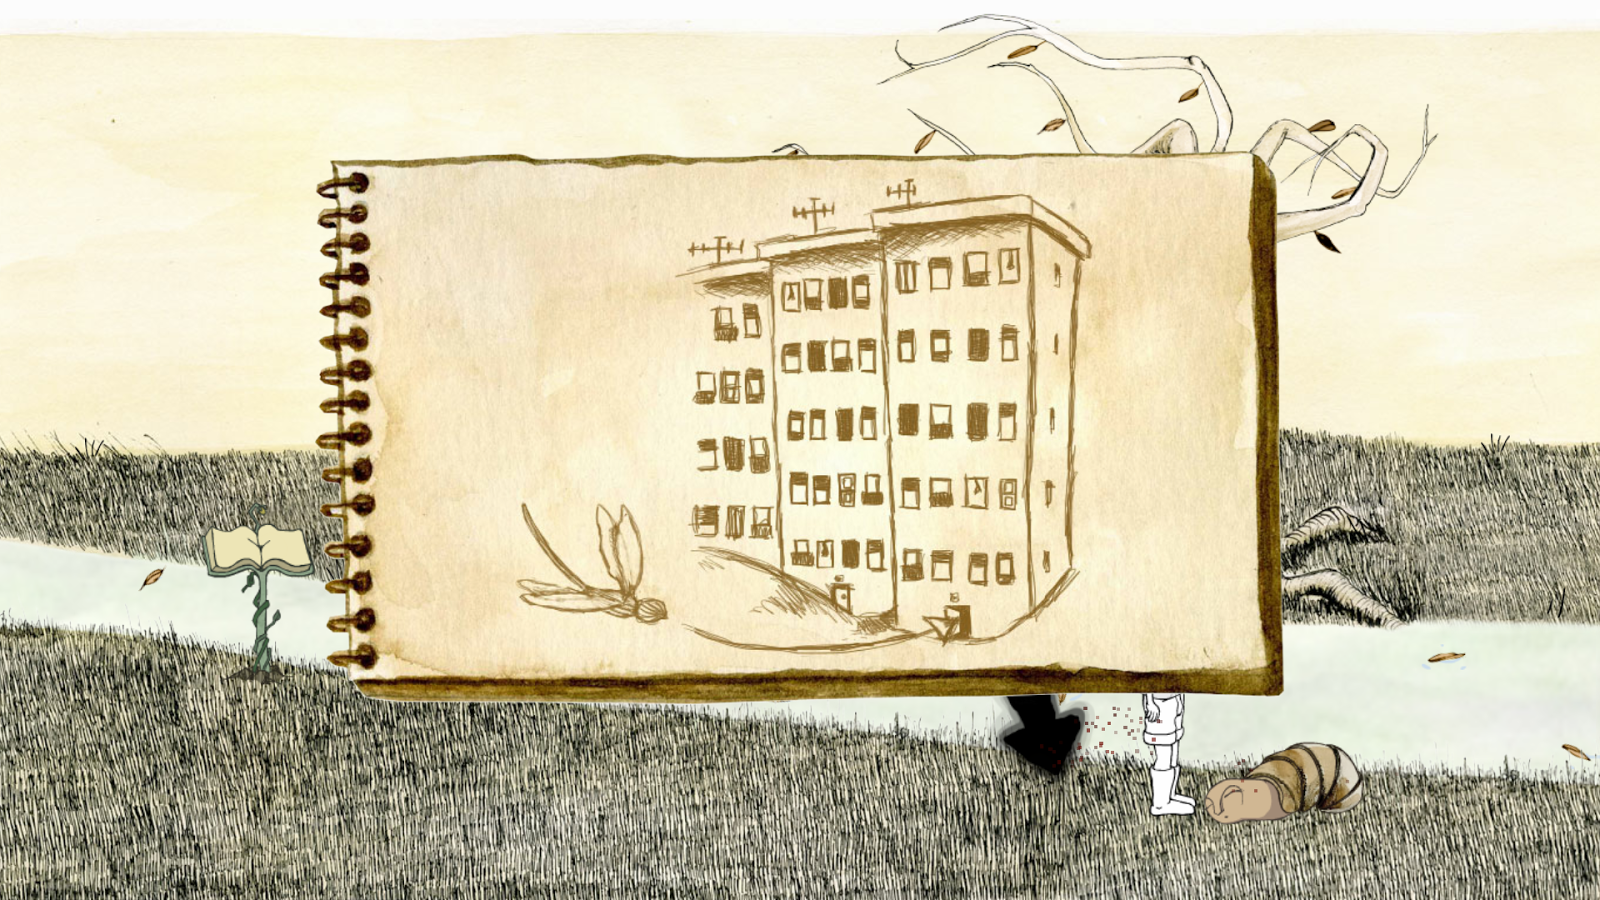
If you talk to the boy, an continuously click on the picture with the cave, he'll tell you that you need sand to place in the hourglass to extend the spiderweb fixing game time. 
You can only get the sand in one general place which is right of the bridge so go over there and grab it.

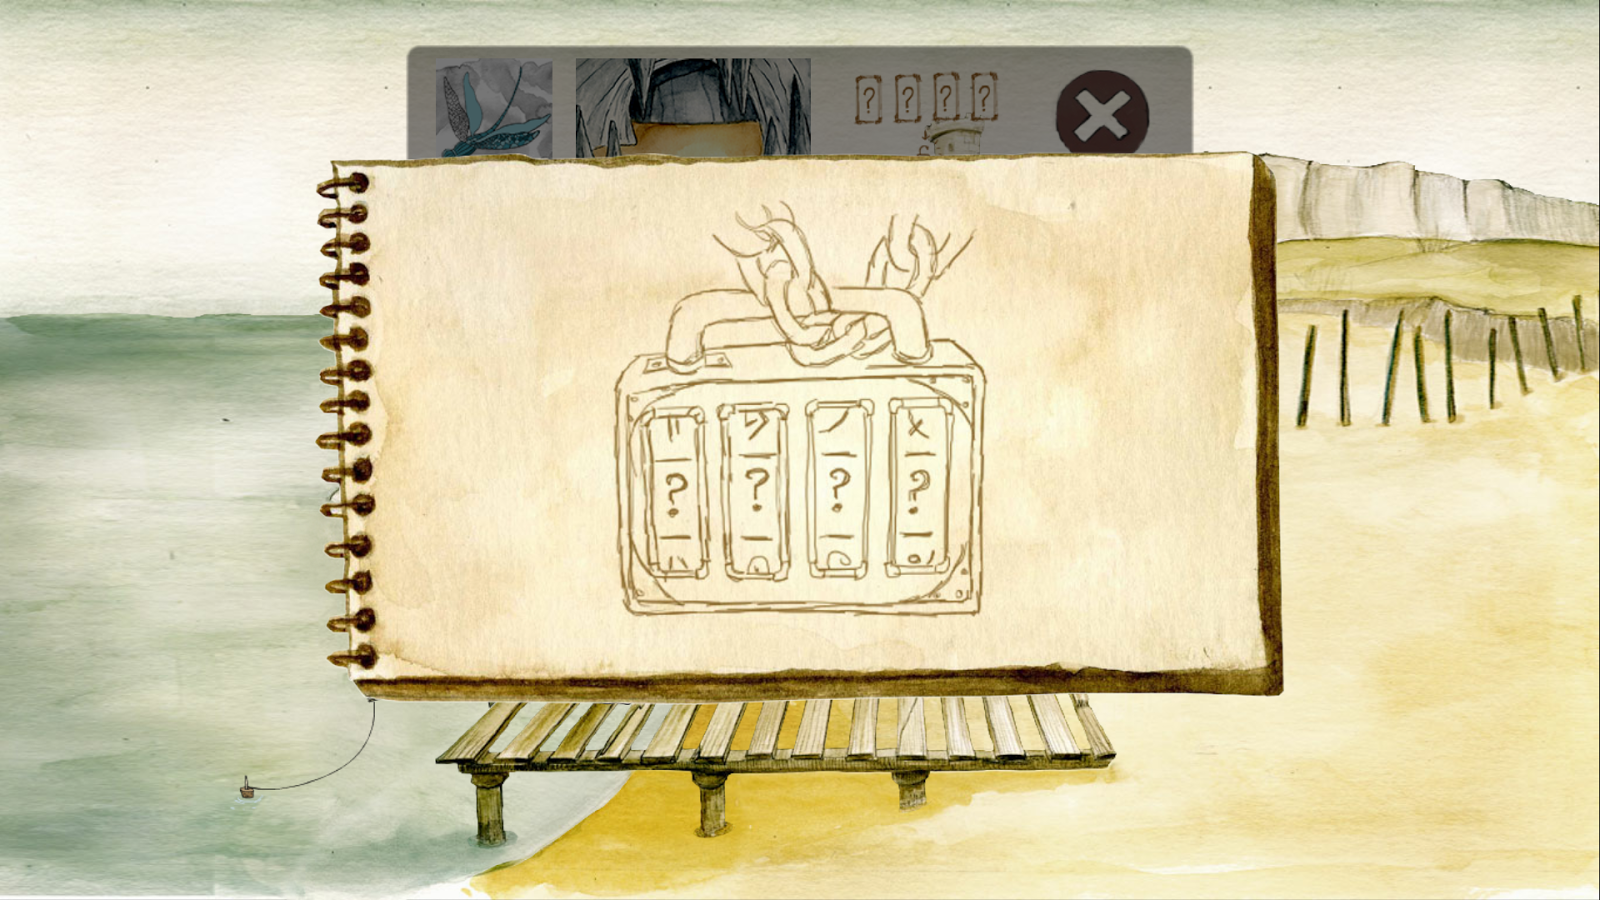
Before you leave, talk to the boy about the other dragonfly. He'll tell you about the locked door and when you ask for the password, the little twat would ask you to go find his necklace. Ignore him after that and head back to the Spider cave.


Use the rock on the bees nest, and you'll see the bees slowly leave the nest and onto the web.

Now this part is all about timing.
Hide behind the large rock next to Anthea. When she's looking towards the web, hurry and click on the hourglass, and use the sand on it. You only have a moment to do so btw so do it quick.
Now you can do the spider puzzle. As you can see the increase of sand in the hourglass gives you ample time to solve this puzzle. Just connect all the red lines. From my gameplay, I didn't even need finish all the lines, as long as you finish most of them it should be fine.


And there you go! You've got your next dragonfly!


Monday, July 21, 2014

Part 2 - Fking Flowers and Spiders and Old Ladies Oh My

Musical Goddamn Flowers 
This is the part where most people start getting stuck on. And give up on. It's moments like these where you wonder why you wasted your time buying this game. But we're here, so whatever. Let's continue.

Just so you know I'm redoing the whole game just to write this blasted thing. And I have no idea how to use this website so please excuse me.


After another long winded cut scene you arrive to the next map, Muse River. Here you'll see 5 flowers and a red haired girl in the river. The girl has you dragonfly, and she doesn't want to give it back till you help her fix the bridge. What an irritating girl.


If you tapped on the flowers, you'll notice they produce a music note and a part of a white bridge appears on the left. If you talk to her, she'll tell you that you need to use the flowers and copy her music piece to make the bridge appear entirely to cross. Unfortunately, because the girl didn't bother to take care of them, one of the important flowers has died. Without it you cannot complete the puzzle and head north across the bridge. But let's ignore the flower for the time being and head over to the next map.


When you reach the next map, a cut scene later and you'll be in the Cave of Anthea and Arachne. Another dragonfly is here, stuck on Arachne's web. But the blasted old lady won't let you disturb her precious boy. To get the dragonfly, you need to fix the web that got broken somehow in the time limit. But Anthea's a cheating bstrd and added hardly any sand to the hourglass, making it almost impossible to complete. This will be solved later though let's focus on the flowers first.


Now at the next map, you'll be in the beginnings of the cave. This is where the important things begin.

1) Walk over to the dripping water. Upon looking at it, the dying flower next to it will bloom. Use the cup to collect the water for our dying flower.

2) Pick up the small rock on the ground too. That'll be important for later.

If you try to go further, Alice will deny you of entry. That's because to go further you'll need a lit candle to light up the cave, which are currently all unlit at the corner of the map. They'll only light up when you finish the first puzzle.

Now back to the river!


3) Use the water on the flower. It'll bloom and now you can start on your tunes. You'll need to follow the song the girl plays to create the bridge. To make your life easier, I went to ask Sloth for the answer and because his drawings sucks crap I replaced the drawings with the actual flowers

Here's the drawing!


I know the picture looks weird but that's because they drew it like a music piece, so for those who don't understand it just follow the blue arrow. Surely that's more understandable.


Now that the bridge is up, a blue dragonfly will appear from it. Follow the instructions and use the necklace on the dragonfly.


You now have your first dragonfly.


Onwards to the next puzzle!

Tuesday, July 8, 2014

Part 1 - Here we go!


River of Alice. It's a pretty bullshit game. Normally I would just go online and find a walkthrough for a game, but apparently this game is so horrible that no one decided to make one for it. It's not that the puzzles are hard, they're pretty straightforward, it's just that everything else is goddamn tedious and dumb crap that it make the puzzles look hard.

As a survivor of this horrible game (Yes I've completed this hell), I feel compelled to help the present and future victims of this aggravating creation. I'll show you all the hints, answers, and glitches to beware of in this little guide/rant of mine. I bold the important guide parts and underline the hints  so that if you're in a rush you can just read that part.

This is River of Alice.
The Walkthrough.


Part 1 - Introductions


After watching the long and pretty draggy cut scene of your main character Alice, you arrive at your first destination, the room by the river. It's your starting point, and, if you were as unfortunate to have to do the whole game without a guide, you'll be seeing this place a lot. 

The first puzzle is easy, and I shouldn't need to tell any of this to you, but I'll just write it out just in case.

1) Touch screen to continue
2) Tap anywhere to continue


3) Walk towards the right of the screen, you'll see this ugly looking....thing at the corner right. It's called Sloth, and it would be the only object that will give you clues in the game. You can only find him there, at the beginning, not anywhere else, so if you have any problems or questions from other maps, you'll have to go back to the beginning to ask him. Fortunately for you, this walkthrough will allow you to get all the answers without making that slow trip here and there.


Now Sloth, like his name, is a sleepy mthrfker, so we need to find a way to wake him up. Walk a bit to the left and you'll notice a stick that floated and stopped on the riverbed. Go pick that shit up.


You've now got a stick.

If you have noticed, items in this games are really tiny and unnoticeable, which makes life even worse. More so if you need a certain item to complete the puzzle. But I'll help you find them so no worries!


Back to Sloth,. Stupidly, poking the dumb thing with a stick is the only way to check whether it's alive, so walk back to it and open your inventory, using the stick on the creature.


4) Now talk to Sloth, they'll tell you that you need to get the necklace on the tree, so grab it and return back to him.


5) All the hints from Sloth will come as pictures. Useful only if you can actually understand them. They become easier to understand, but only after you have interacted with the puzzle and return to him again a certain amount of times. It's dumb, but that's the game. 

Talk to Sloth and he'll show you a picture of your necklace, a dragonfly emblem with 4 other dragonflies flying away from it. Apparently in the story the dragonflies on your necklace have escaped in your dream or something and you have to go find it. I don't really know the story behind everything so if I'm wrong whatever, but let's continue. 


Click on the big dragonfly picture. It'll separate into 4 pictures, showing the location of where the dragonflies went, and a big picture telling you to return the other 4 to the necklace.


7) Now follow the wind. Like the items, your walking button is small and very hard to see. However, a trick is if you tap your screen and hold for a moment, you'll see small white glowing spots appear which are the buttons you're allowed to press. MOST of them are fine to press, but sometimes there's glitches that show the button even though it shouldn't be there, which will hang your game if you pressed them. I'll tell you which ones are not safe when the time comes but for now they're all pressable.

Also, a nice reminder to you to save your game constantly. That save button is made for situations like that.

You'll also notice a book that sprouts from the ground. It's also suppose to be a hint of sorts, but they're put in a riddle or something and are pretty useless. Read them if you want but they aren't important.


8) Before you head out to the next map, walk over to your bedside table. There's a small object on the table, pick up the object and you'll see its a cup. It's going to be the important item you need to complete the next puzzle, in which many never figured out.

On towards the next map!